>Clarissa’s Split Pea Soup with Bacon: A Recipe

>Recently, I have been sharing with people more and more often that cooking is my hobby.  Here and here I explained why I’m wary of confessing that I cook. This is not a hobby to feel good about when one receives e-mails from our university administration, saying: “It will be nice if female faculty members cook something for our Christmas party.” Today, however, at the request of reader sarcozona, I am sharing my recipe for Canadian split pea soup with bacon (for lack of ham.) For me, cooking is a creative process and I change every recipe every single time because it’s more fun that way.

1. Take one cup of yellow split peas and one cup of green split peas. Of course, you can take just one kind, but the soup looks a lot better and somehow more festive if two kinds are used.

2. Place the peas in 8-10 cups (according to how thick you like your soup) of bouillon. Lacking that, you can always use water (salted to taste). Using water instead of bouillon means you can be more generous with herbs and spices. Bring the peas in bouillon to a gentle boil, and let them simmer. They will stay simmering for 3-3,5 hours, so you will have time to prep all the other ingredients (and blog in the meanwhile) at leisure.

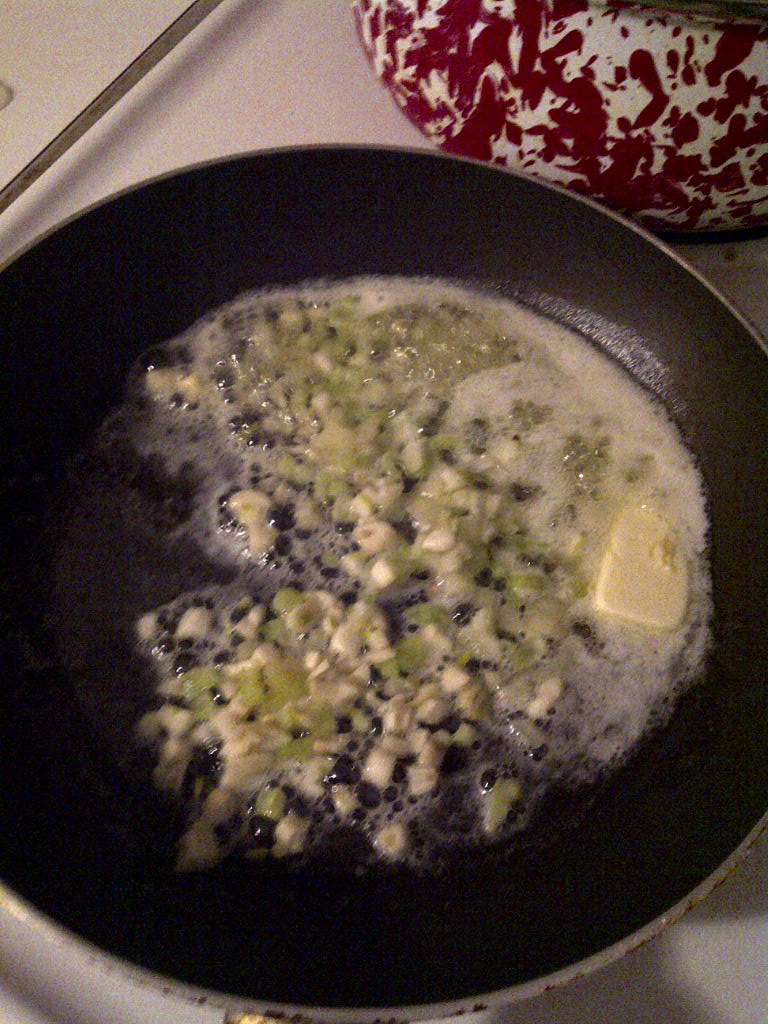
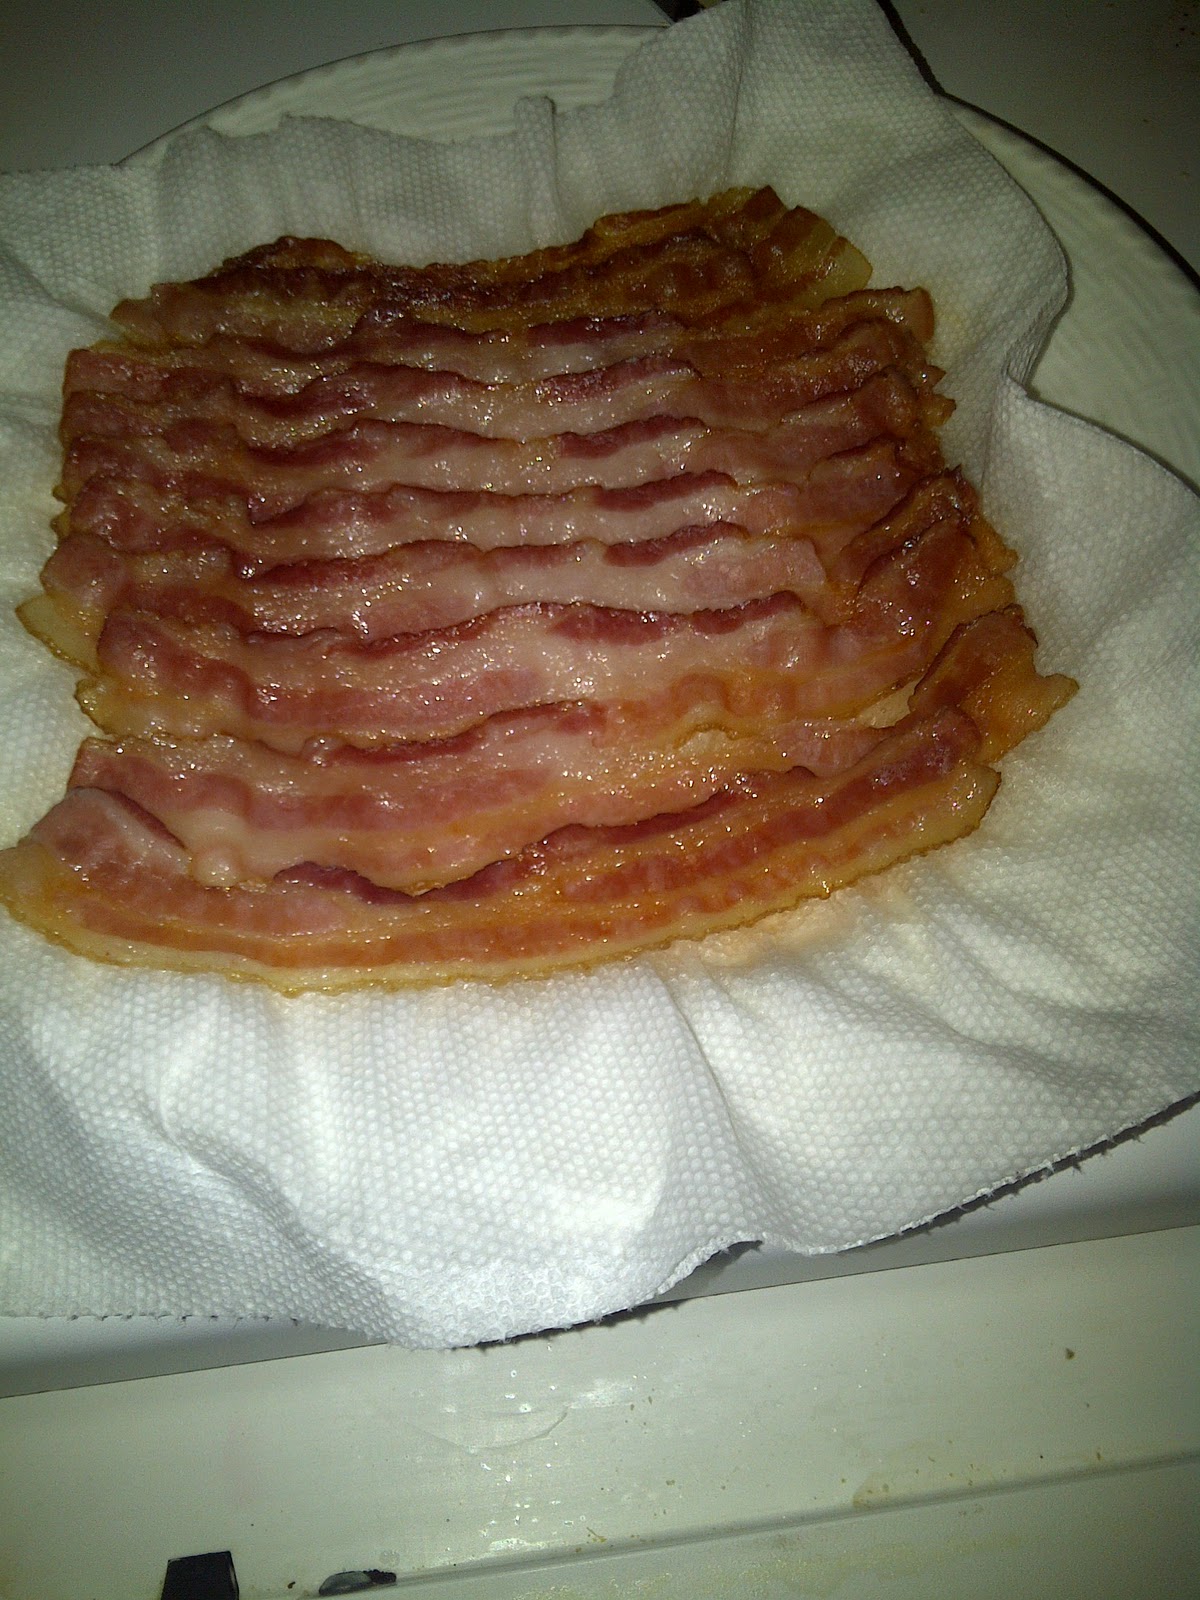
3. Take several rashers of bacon. Put them on a plate between two paper towels, and leave in the microwave for 4 minutes. Some people prefer to fry their bacon, but that leaves too much fat, whcih overpowers the taste of soup.

How come photos at professional cooking sites always
look so much better than the ones I make? Well,
at least I tried hard. 🙂

Break up the cooked rashers into small pieces and add them to the simmering soup.

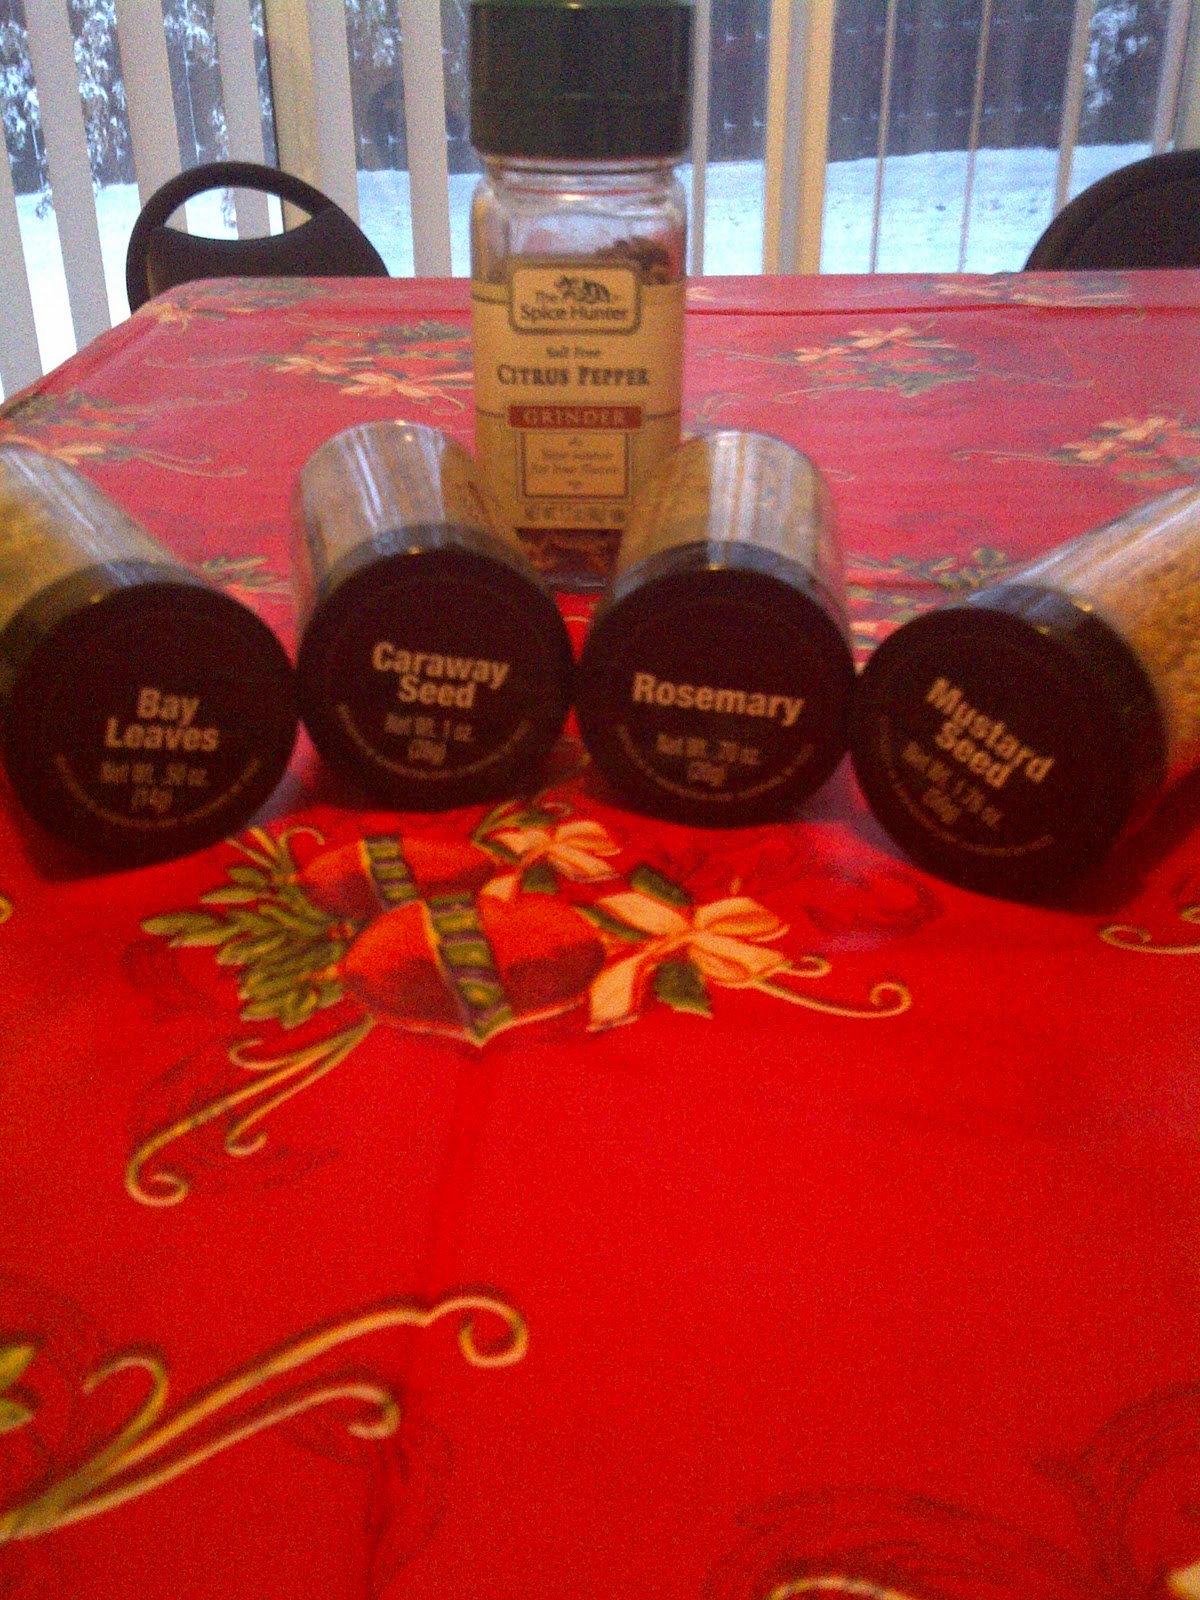
4. An hour into the whole process, it’s time to think about herbs and spices. This is the place where experimenting and discovering new shades of taste is the most fun. Here are the spices I chose this time:

This is a hearty dish, meant to be eaten in winter. This is why I always choose sturdier herbs and spices to go with it. Feel free to experiment as much as you want, however. Peas and bacon are very strong, taste-wise, so there is quite a bit of freedom in how many herbs one uses in this recipe.I always keep tasting the soup and adding more herbs and spices as the time goes by.
5. Somewhere at the end of the second hour, is the time to add vegetables. Here are the ones I chose this time:

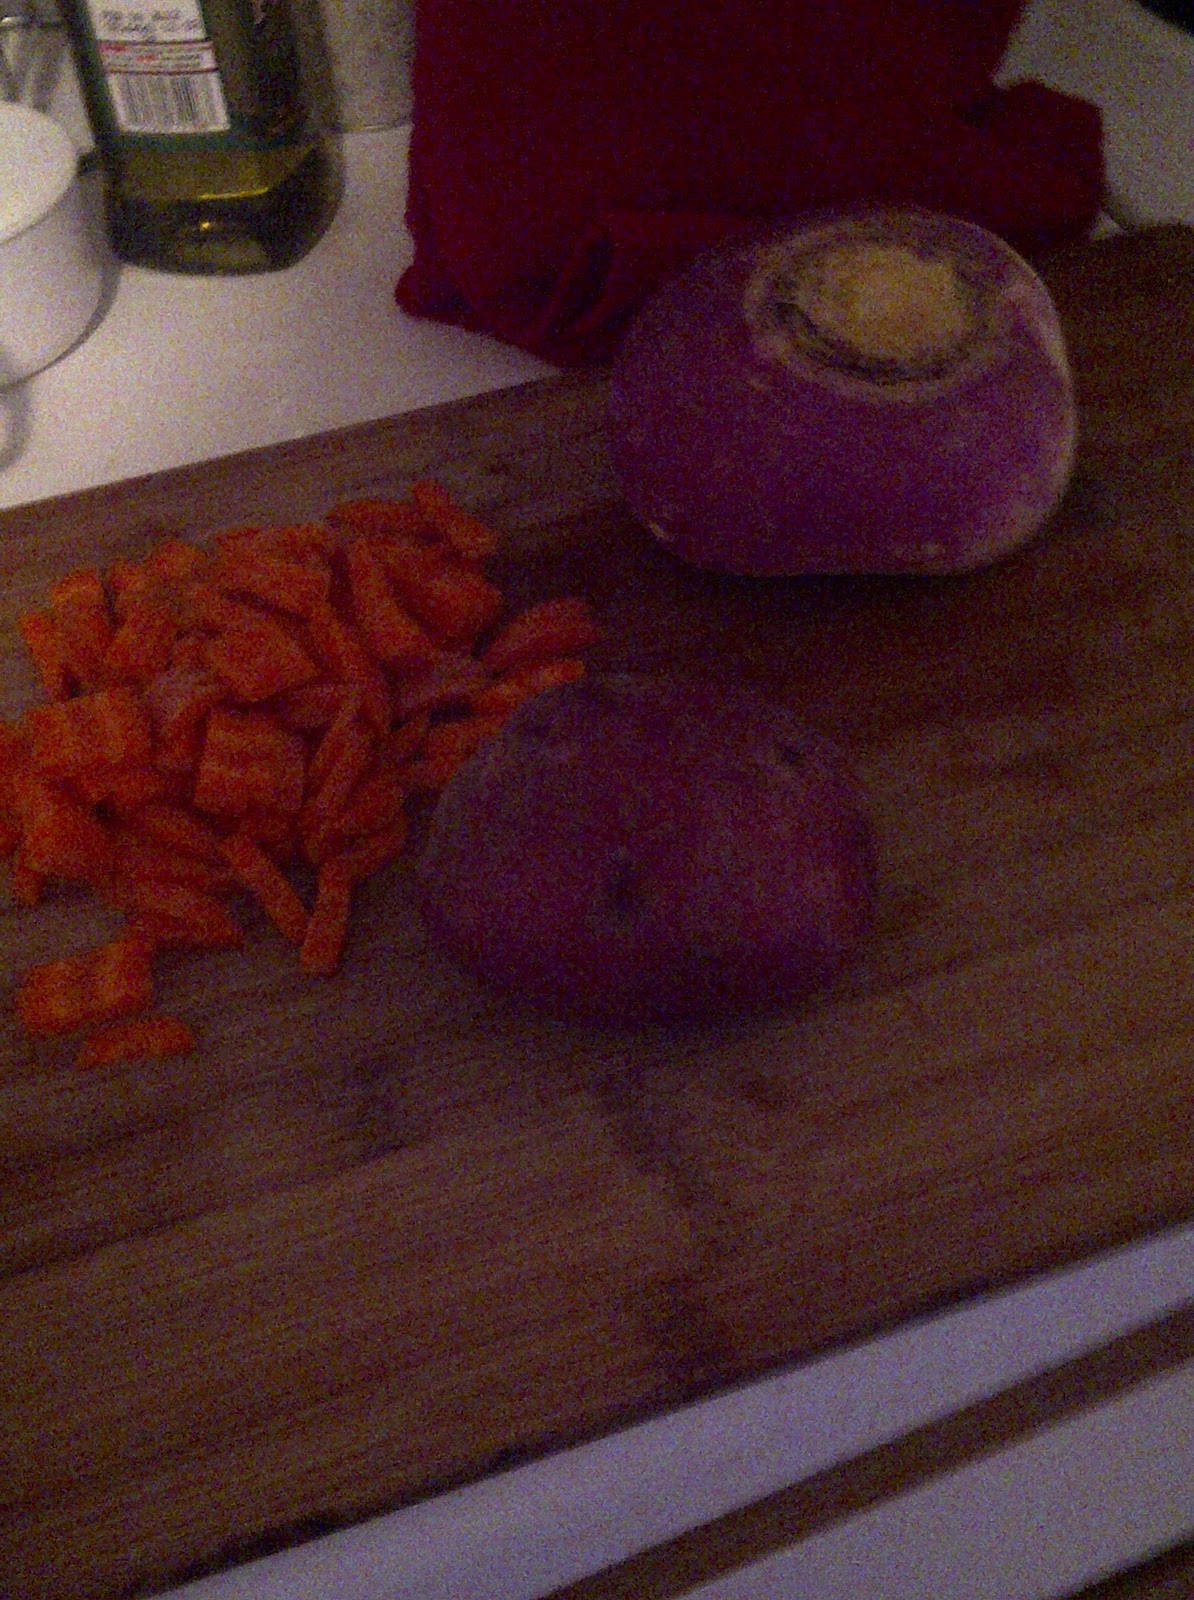
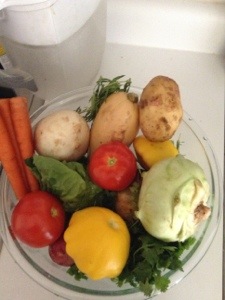
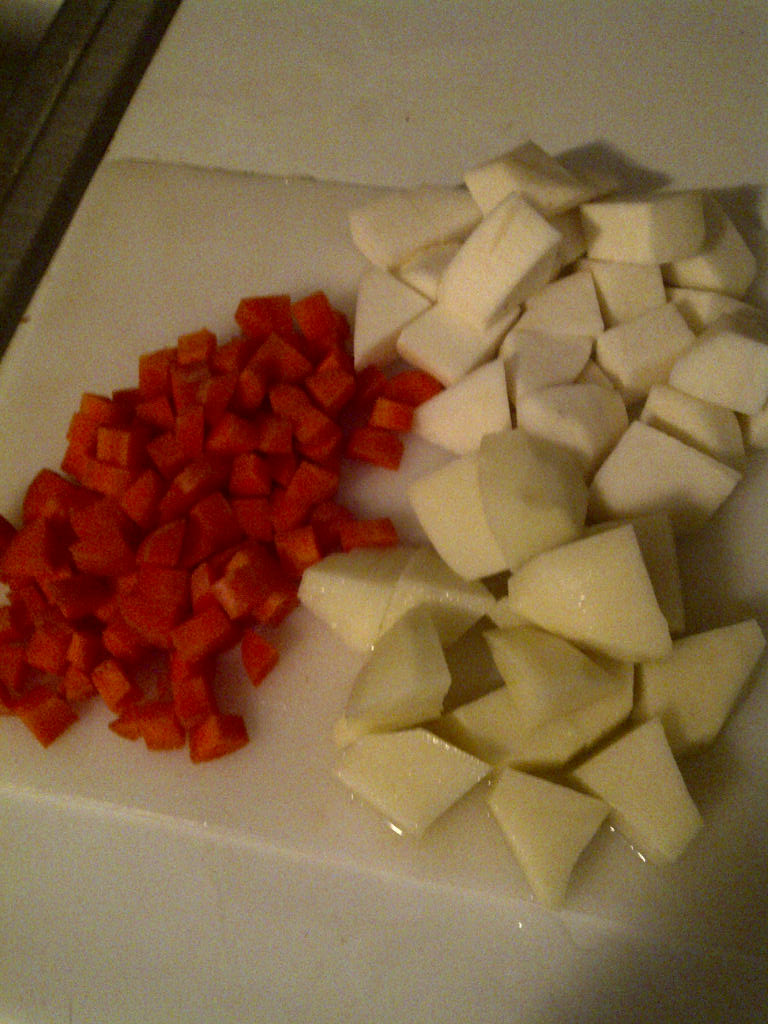
I dice the carrots first, then the turnip, and after that the potato, and add them to the cooking pot in that order. Vegetable can be cut in pretty large pieces, but all chunks should be of uniform size because otherwise

the texture will be too inconsistent.
6. As a huge lover of ginger and garlic, I then prepare a ginger garlic paste. It can be bought in a store but I don’t really trust it because God knows what weird substances have been added to it. Making a ginger garlic paste is beyond easy. You just take equal amounts of gignger and garlic, add a little bit of olive oil, and throw it all into a blender. Blend until you are satisfied with the texture of the paste.
Cooking and blogging at the same time
is fun! I wonder why I never did it before.
If you are a vegetarian who left out bacon, I suggest you really consider adding ginger. Unless you hate it, of course. If making a paste is too much of a drag, it’s perfectly OK to cut the gignger into tiny pieces and adding it to the soup.
7. It’s up to you to decide when the soup has reached the desired consistency. If you like it chunkier, 2,5 hours will suffice. If you wish it smoother, leave it simmering for up to 3,5 hours. Some people, puree the soup after it’s done, but I never do that. I lke experiencing the textures of all the ingredients, but that, of course, is a matter of personal taste.
8. I serve the soup with a salad because in winter I serve everything with a salad:

Some people add sour cream to the split pea soup but I find it a bit too much. Feel free to try it, though.

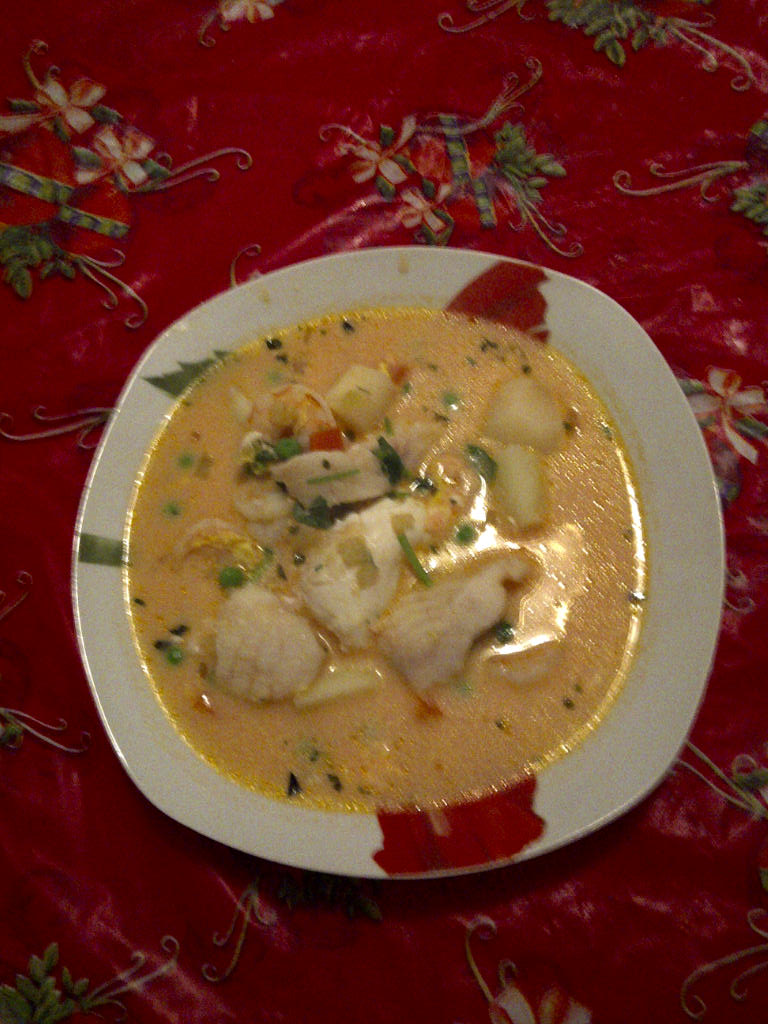
Here is a close up of the end result:

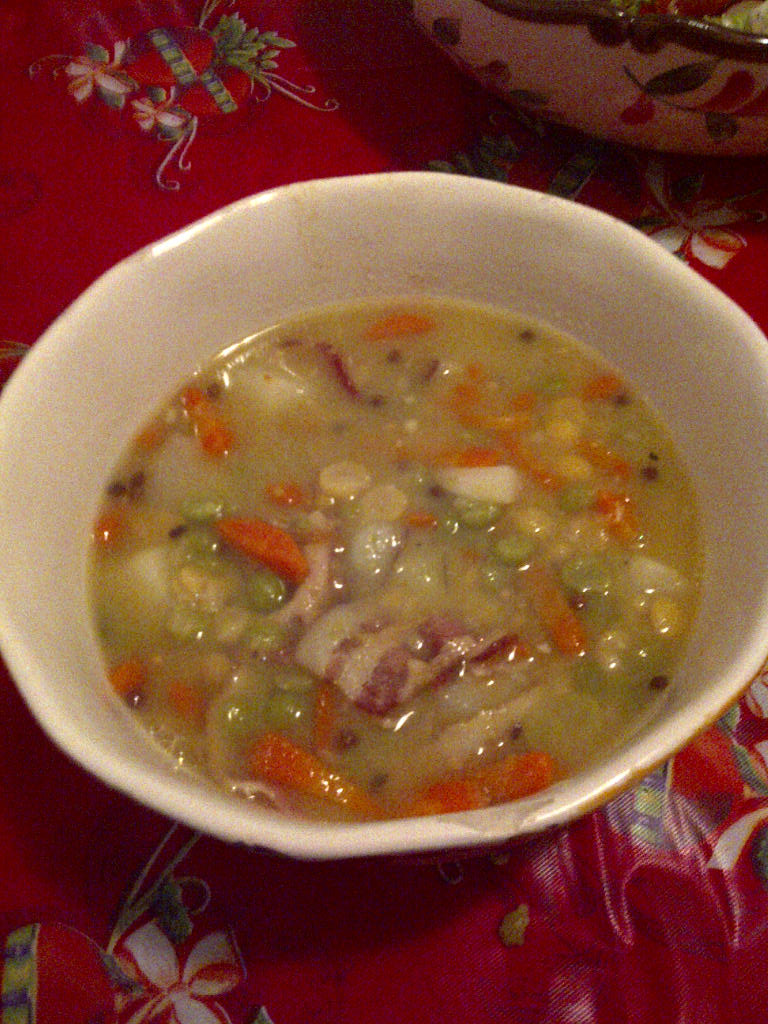
It could have been less chunky if I’d let it simmer a little longer.
But I was starving and couldn’t wait to eat any longer.

I just tried it and it tastes delicious. Â¡Buen provecho!

Clarissa’s Organic Ratatouille

The ingredients in this ratatouille are without an exception fresh and organic (including the herbs). Here they are:

20130615-185834.jpg

Young carrots, tomatoes, rutabaga, a couple of young potatoes, a pattypan squash, English peas, a baby turnip, butternut squash, a head of Boston lettuce, a kohlrabi, basil, chervil, oregano, savory, cilantro, garlic.

Dice the vegetables and add them to a pan with some olive oil beginning with the least soft vegetable. Add some water to cover the bottom of the pan. Gradually add the shredded herbs. Salt to taste. Everything should be sautéed very slowly for about 90 minutes.

20130615-190427.jpg

It tastes phenomenal. And if somebody tells me this is unhealthy, I give up because I can’t do anything healthier.

My Grandmother’s Recipe Book

The most meaningful and amazing gift I got this holiday season was this book of recipes that used to belong to my grandmother Clarissa (the one who gave her name to this blog):

recipe book

It was very hard to be a good cook in the Soviet Union because finding ingredients was a heroic feat. And even if you were lucky to find anything, you always had to stick to the same few items. People went out of their way to create inventive recipes and these recipes were treasured and passed from one person to another.

Grandmother Clarissa was a phenomenal cook and she collected all these recipes in a notebook that later passed to my mother. And now my mother gave it to me. Grandmother’s main area of cooking expertise was baking. She baked a new cake every week-end and they were invariably beautiful.

I also love to cook but one thing I never do is bake. I don’t like baked goods, and I believe that the best dessert one can have is a piece of sausage. N., on the other hand, loves desserts and is especially partial to cakes. So I told him that this year I will make a resolution to make every single recipe from Grandmother Clarissa’s recipe book. N. was so happy that he had tears in his eyes although I warned him that I can’t promise these desserts will start coming out right soon.

So here is the very first cake from Grandmother Clarissa’s book that I just baked. It’s called “A Black Man’s Kiss.” Don’t blame me, blame the Soviet people for the strange names of these desserts.

Cake1

All of the elements tasted well separately. Now the cake will stand for 12 hours, and I will tell you how it tastes.

The recipe is under the fold.

Continue reading “My Grandmother’s Recipe Book”

Clarissa’s Frog Legs Soup: A Recipe

I love making soups because you can be as inventive as you want and use up all the stuff you have floating around the refrigerator. Today, I decided to make a soup of frog legs and fish. Once again, a Google search didn’t offer any interesting recipes, so I decided to improvise. It turned out so good that I have already devoured two big bowls.

Here is what you will need:
3-4 pairs of frog legs
3-4 fish of any kind you like. The fish should be skinless but it is very important not to remove either the backbone or the tail. They are needed to make the broth less watery.
3 potatoes
2-3 carrots
salt, herbs, spices
some fresh sage
Here are the frog legs and the fish all ready for cooking. Separate frog leg pairs in two so that you have to separate legs. There is no need to chop them up onto smaller pieces.
You can use either fish stock or simply water if you have no stock handy. Place the chopped carrots and the frog legs into the broth (or water) and place the pan on high. You will need to bring it to the boiling point and then reduce the heat immediately.
Add a bay leaf, salt and pepper, and any herbs and spices you like. I added dry oregano, cumin seeds, several cloves, mustard seeds, and when the soup was almost ready, some fresh sage. Peel, cube and add potatoes to the soup. After 10 minutes or so, cut the fish into chunks of the same size and add them to the pot. Let the soup simmer on slow until the potatoes taste ready but not mushy. Here is how the soup ended up looking:
If you let it stand for a few hours after making it, the soup will taste even better.

>Clarissa’s Chupe de mariscos from Peru (Peruvian Seafood Soup)

>We have Peruvians in the family, so Peru’s wonderful cuisine is very appreciated. Today I will share with you my version of my favorite Peruvian dish – Chupe de mariscos, or a seafood soup. Peruvian food is not only delicious and healthy. It is also aesthetically pleasing, which this particular chupe showcases beautifully.


Ingredients for the
chupe de mariscos The fruit obviously are not
part of the dish. They are just there
because it’s their place

 1. First of all, I have to warn you that there are quite a few ingredients in this soup. You can see them gathered in this picture. I am cooking this in a small Midwestern town, so some of the ingredients are not available to me and I have to improvise. It is still absolutely delicious, though. So this is what I will use:

-bouillon (if you don’t have it, just use water);
-raw shrimp;
-a couple of fillets of white swai and cod (you can take the fillet of any fish you like as long as it’s white);
-a small turnip,
-a couple of potatoes;
-frozen green peas (fresh peas are best, if you can get them);
-4-6 eggs;
-a little can of tomato paste;
-1-2 cans of evaporated milk (you decide how much you want to use);
-fresh cilantro and oregano;
-garlic;
-a couple of medium or one big carrot;
-hot yellow peppers;
-unsalted butter;
-some rice (you can skip this ingredient if you like);
-and, of course, salt and pepper.

2. Heat up 8-10 cans of bouillon or water in a big pan. Make sure you add salt to taste. In the meanwhile, mince garlic and hot yellow peppers. The quantity of these ingredients is up to you. We prefer more garlic and very little peppers, but some people do the opposite. Take a small frying pan, melt 1/4 of a stick of unsalted butter in it, and fry garlic and peppers on medium heat for under a minute. The garlic should not be allowed to get dark.
3. Peal and cube the carrot, the potatoes and the turnip. Carrot cubes should be smaller than potatoes and turnips. Add the vegetables and garlic + peppers to the boiling bouillon.


Here you can see comparative sizes of
cubed vegetables. Potatoes
are in the front and the turnip is in
the back. Feel free to use any variety of sweet potato.

4. Then add 2 table spoons of tomato paste to the bouillon. Add 1/2 tea spoon of oregano. If you will be using rice, add a handful now. Don’t add too much rice, or it will absorb all the delicious liquid, and you will end up with a stew instead of a soup. 

5. When the vegetables are done to the desired degree of softness, add fish fillets cut into pieces and raw, peeled shrimp. Again, it’s up to you to decide how much fish and shrimp respectively you want to add. It’s also a great idea to add fresh calamaris at this point, but I don’t have any today.
Make sure you don’t get the precooked shrimp.
You need raw shrimp, or it won’t be the same at all.
Raw shrimp need to be peeled and deveined.
This can be done for you at the store.

6. When the fish ans shrimp are halfway done, start adding the evaporated milk. Stop adding the milk when the soup reaches a pleasing color. Feel free to add more or less evaporated milk, according to your preferences. Some people use as much as 2 cans, while I normally use just one.

7. Now is the time to add a cup of peas and 4-6 eggs. At the very end, chop some cilantro and add it to the soup. When the eggs are cooked, turn off the heat. Let the soup stand for 10 minutes. And now try it and tell me if it isn’t absolutely delicious.

It even looks beautiful!

 Â¡Buen provecho, amigos! Enjoy!